To help clients proactively manage their Azupay account balances, we’ve introduced a configurable Low Balance Alert Notification feature. This enhancement enables Admin and Finance Admin users to receive timely email alerts when their account balance drops below a specified threshold—ensuring uninterrupted operations and allowing for prompt top-ups.


How It Works:

Admin or Finance Admin users can access the Balance Management screen to:

  • Set a custom alert threshold amount (e.g. $50,000.00).
  • Define an email distribution list of up to 5 recipients to receive the low balance alerts

When the Azupay account balance falls below the configured threshold, an email alert is automatically sent to the designated recipients. The alert includes:

  • Client Name: [Merchant name]
  • Alert Threshold: $[Threshold_Amount]
  • Date & Time Triggered: [Alert_Timestamp in Australia/Sydney time]

Refer to this page in our Developer portal for further details: https://developer.azupay.com.au/docs/managing-your-account-balance#/low-balance-alert-notifications

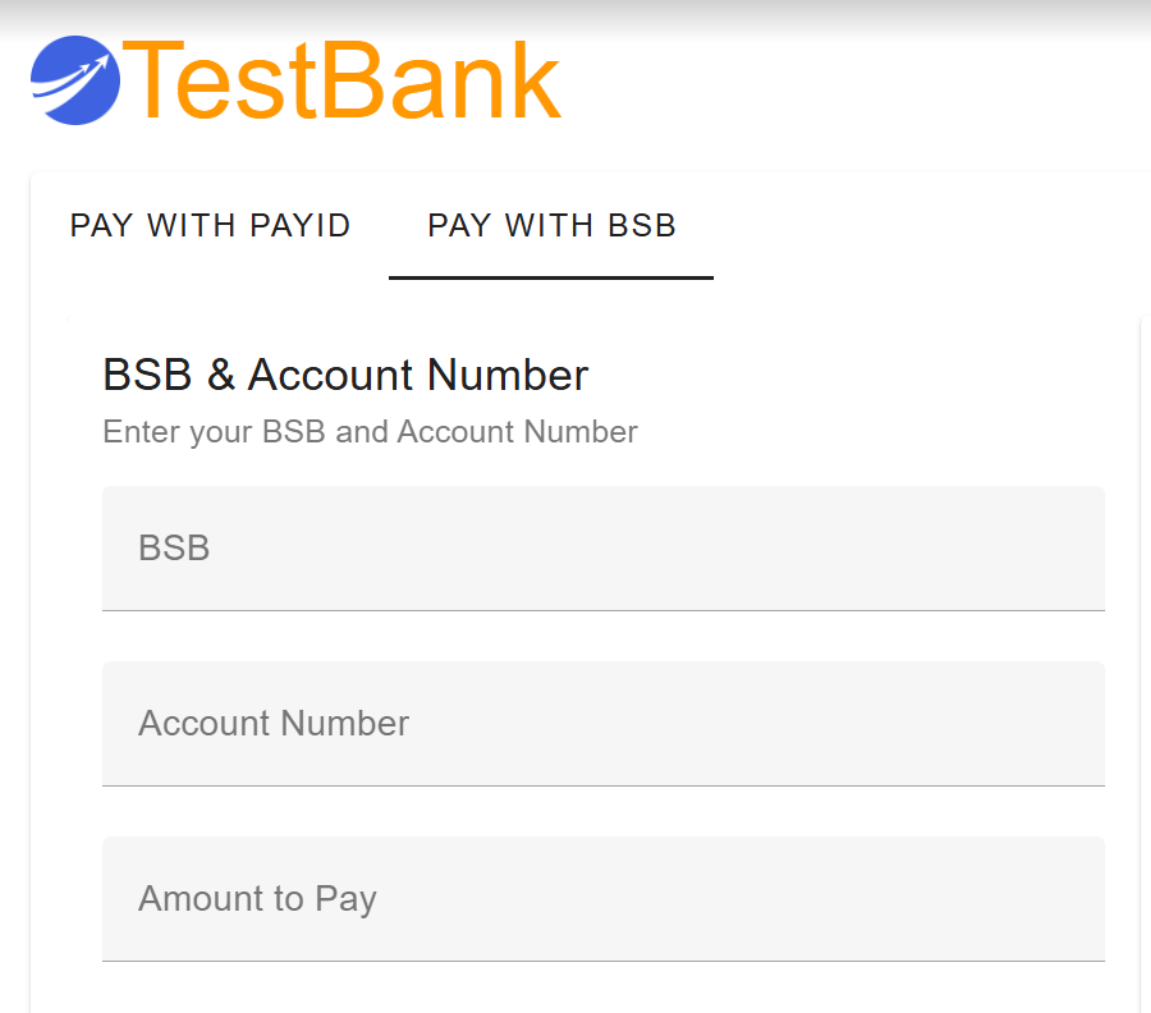
To support merchants with strict account verification requirements, this enhancement ensures that payer details—such as PayID or BSB/Account—are securely prefilled and locked when creating a PaymentAgreementRequest via Subscriptions app.

In order to prefill BSB/account number or PayID field shown to your customer, simply send in a value in suggestedPayerDetails field. Please refer to this Payment AgreementRequest API file specification for further details.

Note: If you send in a value to suggestedPayerDetails, your customer will not be able to edit the PayID or BSB/Account number in this field when it is shown to them on the UI

We’ve introduced a powerful new feature that gives Azupay customers greater control over their Daily transaction reports—right from the Azupay client dashboard.

What’s New?
You can now customise the fields included in your Daily transaction report via the Azupay client dashboard Settings page. This enhancement allows you to tailor your reports to suit your business needs, ensuring you only see the data that matters most.

Key Capabilities✅

  • View and edit default fields
  • When you visit the Settings page, you’ll see a new widget listing all available report fields.
  • Your current default fields will be pre-selected for easy reference.
  • You can add, remove fields using simple checkboxes.
  • Include the New “Settled By” Field

For more detailed information: refer to this page in our Developer doc guides:
https://developer.azupay.com.au/docs/reports#/customising-the-daily-transaction-report

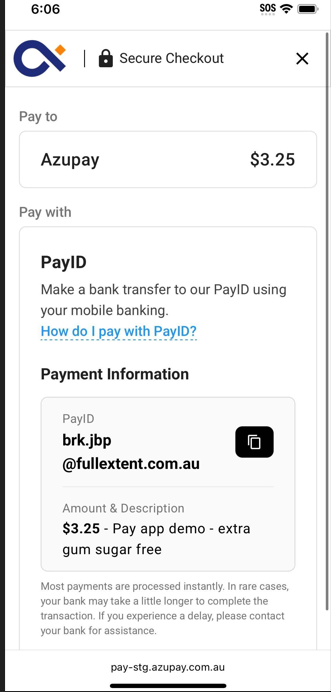
We’re enhancing the PayTo experience in Azupay's V3 Pay By Bank checkout by adding in the "Continue to mobile" prompt that was previously only available to customers choosing PayID as the payment option.

What’s New?
When users access the PayTo payment option within the Pay By Bank experience, they will now see a new option titled “Continue on mobile.” This feature allows users to effortlessly transfer their session to a mobile device using a QR code and will allow them to easily complete approval of the PayTo agreement on their mobile or tablet banking app.

How It Works

  • A QR code will be displayed once the users click on "Continue on mobile" link
  • Scanning the QR code with a mobile device will redirect the user to the checkoutURL, specifically toggled to the PayTo flow.

Azupay's client merchants can now customise the look-and-feel of the Pay By Bank UX they want to give to their customers. By going to the Apps page on the client dashboard and clicking on the 'Appearance' tab, dashboard users can set the merchant logo and accent colour to be used for button and link theme colours.

Once logo and appearance settings have been set, you are able to preview what the main payment landing page looks like with the new built-in preview function that you can access from within the client dashboard!

For further details, please refer to this page:
https://developer.azupay.com.au/docs/managing-apps#/customising

Previously, Azupay’s Refund API endpoint supported only two parameters:

  • paymentRequestId (required)
  • refundAmount (optional)

While functional, this design posed challenges such as:

  • Risk of duplicate refund requests
  • Inconsistent refund state management
  • Difficulty handling retry scenarios

To address these issues, we’ve introduced a new parameter: clientRefundIDThe addition of clientRefundID ensures that each refund request is uniquely identifiable and improves the reliability and transparency of refund operations.

👉 For full technical details and implementation guidance, visit the Refund API documentation.

Merchant clients are now able to receive daily MT940 reports to make reconciliation easier and to cater for systems requiring this format.

In order to request MT940 daily reconciliation reports, you will need to contact Azupay service desk. Once you have MT940 reports set up for your client account, you can also make further configurations to your report settings via the Azupay client dashboard from the Settings page.

From the Settings page, you can set the frequency of your MT940 report to be hourly or daily. Additionally you can specify you want to v1 of the MT940 reports which does not include PayID information for inbound payments or v2 which is the version of the report that includes the PayID value for each transaction in the record type 86 section.

Azupay clients have observed that when a payment fails, the response usually includes a specific status code and reason, such as AC02: The Debtor Account Number is invalid or missing.

However, in cases where the payment fails due to insufficient balance in the Azupay client account, the API returns a 400 Bad Request response without a specific failure status code or detailed reason. This lack of clarity makes it challenging for Azupay clients to accurately identify and track the cause of failure. This recent fix includes updates to failure codes and corresponding reasons so that clients may more easily understand the cause of an outbound payment failure.

Refer to this page for Payment error codes & reasons - NPP used codes & reasons:
https://developer.azupay.com.au/docs/making-payments#/failure-reason-codes---npp

Refer to this pay for Azupay specific Payment error codes & reasons:
https://developer.azupay.com.au/docs/making-payments#/failure-reason-codes---azupay-specific

Azupay recently provided our clients the ability to create payment requests from the dashboard - without any API integration required! (Ask us how.)
After research and consultation with our clients understanding specific payment use cases, we have uplifted the create payment request function accessible from the Azupay client dashboard to provide the ability to specify the custom PayID prefix they would like to generate for their customers.


For further information on this new feature, please refer to: https://developer.azupay.com.au/update/docs/create-payment-request-from-dashboard#/

Currently, there only exist two user roles for managing technology related administration functions within the Azupay client dashboard - 'Tech Admin' and 'Admin' and our consultation with clients has informed us that this may not meet all clients’ needs. Thus, the newly added 'Tech Operator' role will enable the user to perform actions similar to those of a 'Tech Admin', but without the ability to add new users to the dashboard.

For further information on this new role, please refer to: https://developer.azupay.com.au/docs/user-roles-reference#/