This section will detail some use cases and configurations applicable to the PayID payment option
Collect payments via PayID
Key use cases:
Collect payments via a unique PayID that is dynamically generated
Collect payments to a unique or recycled PayID that is relevant (e.g. customer number)
Collect payments to a unique PayID for a wallet purpose (e.g. account top ups)
Collect multiple payments up to a set limit to a unique PayID
Dynamic PayID
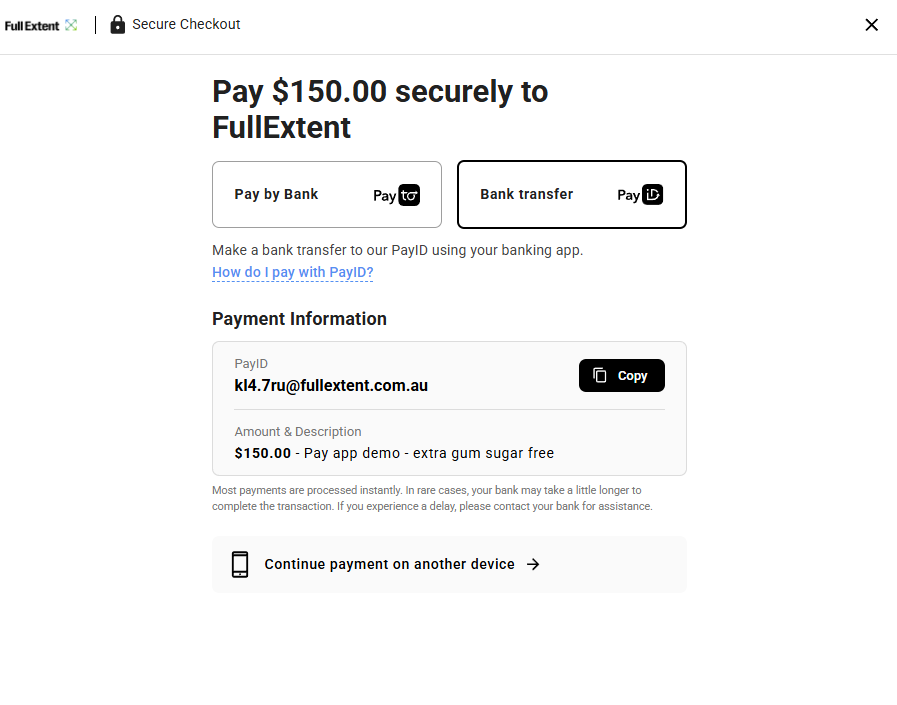
This is a short-lived PayID that only accepts a single payment and is uniquely generated in real time as required. Once a payment for the exact amount of the PayID is made by a payer, the PayID is deregistered and no further payments to the PayID can be made. It will prevent under payments, over payments or duplicate payments so you never need to worry about credit notes, refunds or underpaid invoices.
This PayID setup is most suited to your customers making a one-off payment for goods or services and you want perfect instant match of payment to the purchase.
Configure like this:
Specify AMOUNT in the paymentRequest API
Do not set Multipayment=TRUE and do NOT enter a value for payId
A dynamically generated PayID to collect exactly $150
Incorrect amounts are automatically rejected and refunded back to the customer
Multipayment Dynamic Static PayID
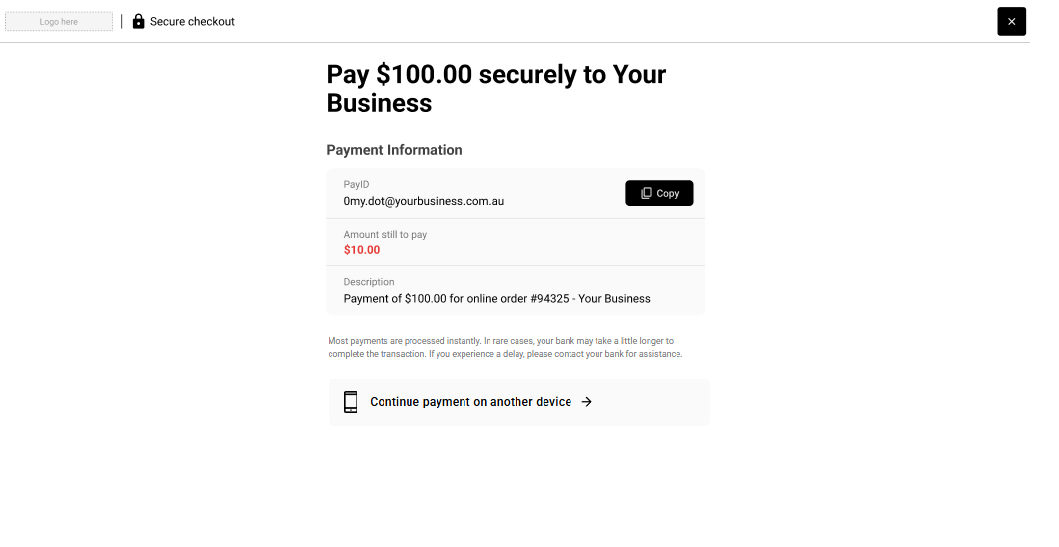
This short-lived PayID only accepts multiple partial payments, up to the amount set. There is logic built into our UX solution to handle multiple partial payments and over payments too.
📘
Multipayments
Multipayment configuration allows receipt of multiple payments towards the same PayID, up to the set amount with UX updates per payment. Once the total amount has been received, the PayID will be deregistered.
Note that setting multipayment to TRUE means PayTo option will not be available.
Configure like this:
Specify AMOUNT in the paymentRequest API
Set Multipayment=TRUE and do NOT enter a value for payId
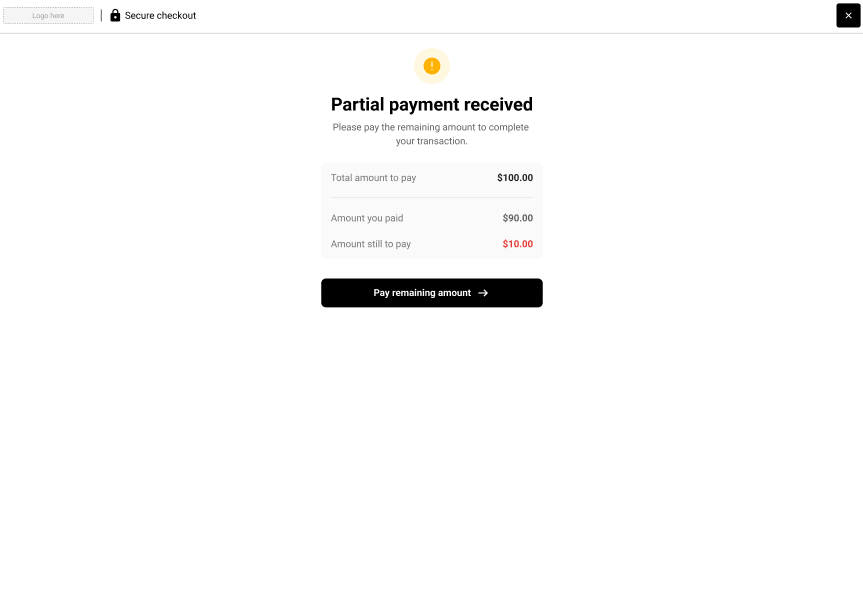
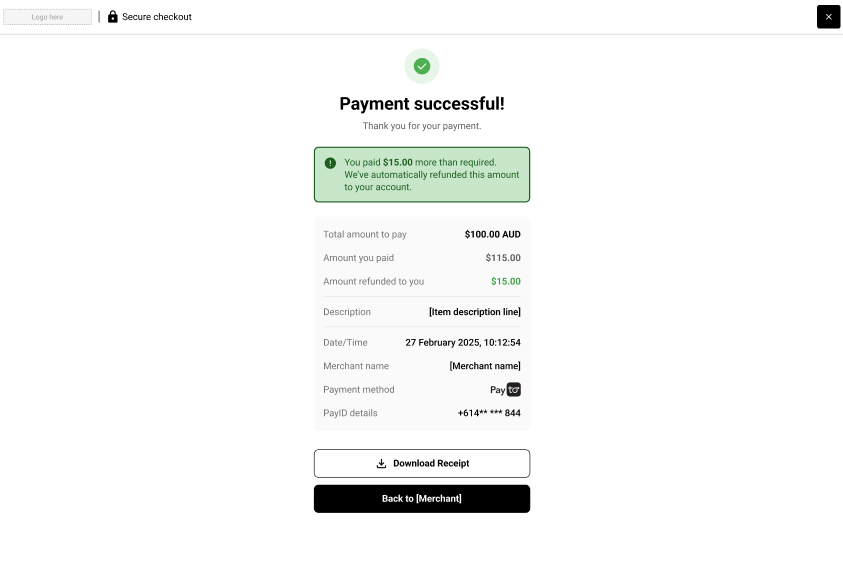
Multipayment configuration allows receipt of a partial payment towards a $100 transaction.
UX updates based on cumulative received amount - $90 received, $10 still to be paid.
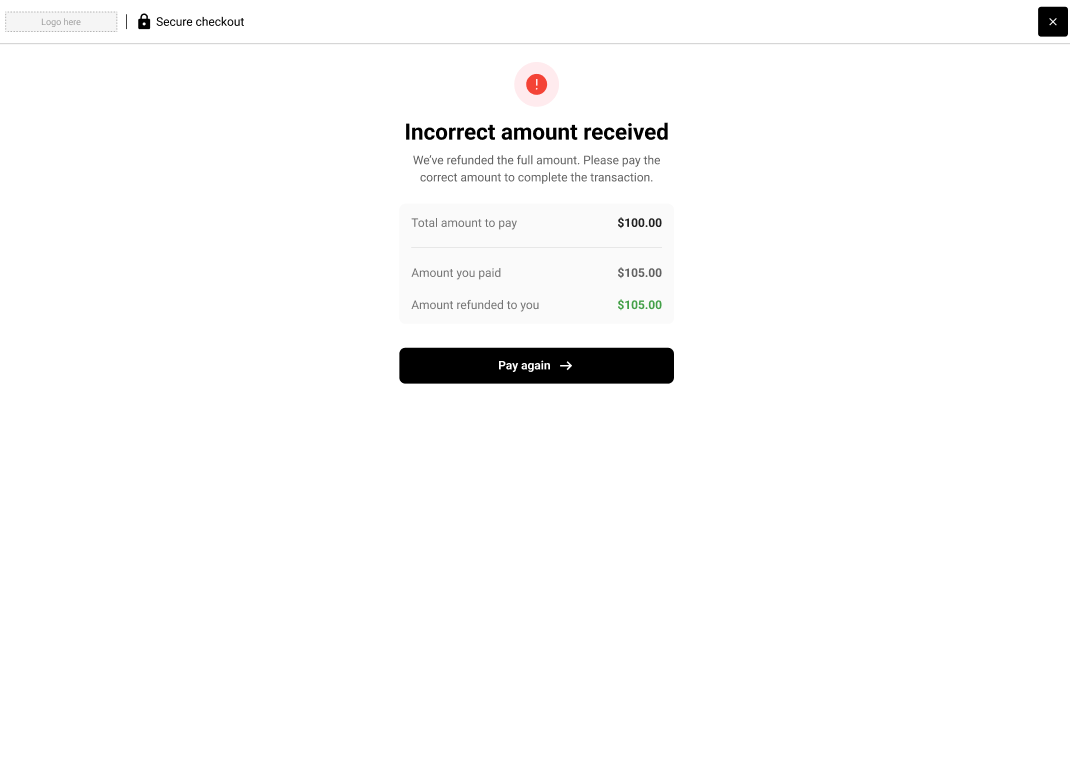
In-built logic to handle automatic refund of overpayments (collect $100, refund $15).
Open Static PayID
This is an enduring PayID that accepts multiple payments of any amount at any time.
This PayID setup is most suited to account based payments where you want to know which of your customers have sent you money but you don't need specific amounts at specific times. Simply create a single Open Static PayID for each of your customers. Examples include topping up digital wallets or adding credit to a customer account.
👍
Hint: Encourage your customers to save their PayID in their banking app
Configure like this:
Multipayment = TRUE
Set Expiry Time either empty or a far future date (e.g. 1 year away)
Optional: set PayID string to something short but meaningful to your customer, e.g. their initials plus 4 random digits @ your domain, their customer number, etc.
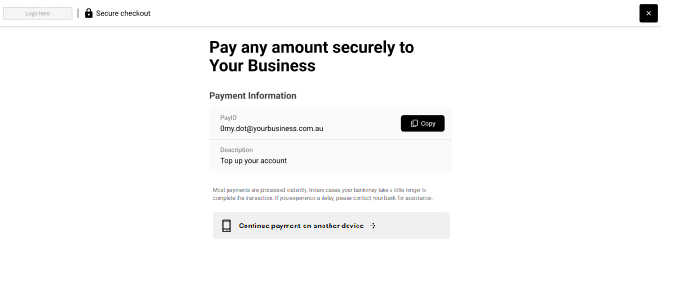
Static PayIDs provide a wallet-style PayID for top-up payments
Static Recycled PayID
This is a recurring PayID that accepts specified amounts periodically. When the specified amount is received the PayID is deregistered (preventing further payments to it), until you make another Payment Request using the same PayID at which point it becomes available again to be paid to with a new target amount.
This PayID setup is most suited to customers with periodic or usage-based recurring billing. Simply make a Payment Request with Amount and PayID string specified, ensure you use the same PayID string for each customer every time. Your customer will pay to the same PayID every time they receive a bill and each time they do so they will get a description of the amount owing for that specific bill and there will be controls to ensure they don't overpay or accidentally pay it twice. Improve customer satisfaction and reduce contact centre calls!
For faster repeat payments they can use the same PayID each time
Configure like this:
Expiry Time either empty or a far future date (e.g. 1 year away)
Set Amount
Set a PayID string for each of your customers and keep a record of it
Optional: set PayID string to something short but meaningful to your customer, e.g. their initials plus 4 random digits @ your domain
Important: every time you call the Payment Request for a specific customer you must always use the same PayID string for that customer