
1. Key Decisions
Deciding between a redirect or iFrame model and which payment method you will accept
There are two key decisions to make when selecting Pay by Bank as the UX solution to collect payments.
1. iFrame and redirect models
To accommodate integration patterns and existing systems, both an iFrame and redirect model is available.
Redirect Model
In a redirect model, the customer is redirected to the Azupay UX to complete their transaction. After the payment is processed, the customer is redirected back to the merchant's site.
Benefits
Security: Payment data is handled by the Azupay, ensuring secure transactions.
Simplicity: Easier to implement as the UX automatically manages the entire payment process.
Conversions: Our UX solutions are continuously updated based on user research to maximize conversion rates and evolve with the market.
Integration Pattern
Initiate Payment: The merchant's site sends a paymentRequest API to Azupay.
Redirect Customer: The customer is redirected to Azupay's hosted payment page.
Complete Payment: The customer completes the payment.
Redirect Back: The customer is redirected back to the merchant's site with the payment status marked as complete. This status is also available via our webhooks.
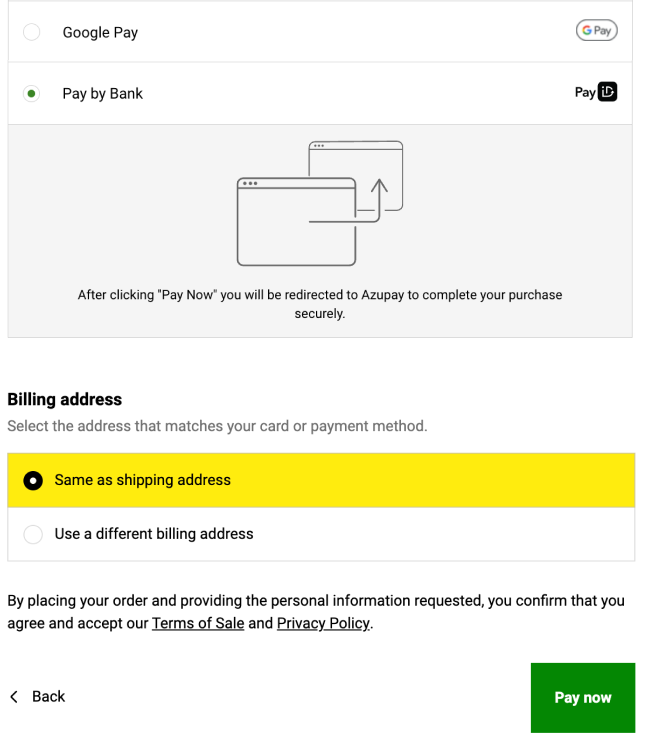
Redirect model - Pay Now button will redirect to the Pay by Bank UX solution
iFrame Model
In an iFrame model, the payment form is embedded directly within the merchant's site using an inline frame (iFrame). The payment data is collected within the iFrame, which is hosted by the payment gateway.
Benefits
Seamless User Experience: Customers stay on the merchant's site, providing a more cohesive and branded experience.
Customisation: Greater control over the look and feel of the payment form to match the merchant's branding.
Security: Payment data is still handled by the payment gateway, maintaining security.
Conversions: Our UX solutions are continuously updated based on user research to maximise conversion rates and evolve with the market.
Integration Pattern
Embed iFrame: The merchant's site includes an iFrame that loads the hosted payment page.
Collect Payment Data: The customer completes the payment (in context with the merchants website).
Receive Confirmation: The merchant's site receives the payment status from the iFrame (via events) and webhooks.
2. PayTo & PayID options
Our Pay by Bank UX solution provides merchants with flexible payment options, allowing them to choose between PayTo, PayID, or both.
Configurable Options
Our solution allows merchants to configure their payment options based on their preferences and business needs:
Both PayTo and PayID:
Merchants can configure their system to accept both PayTo and PayID payments, offering customers flexibility in choosing their preferred payment method.
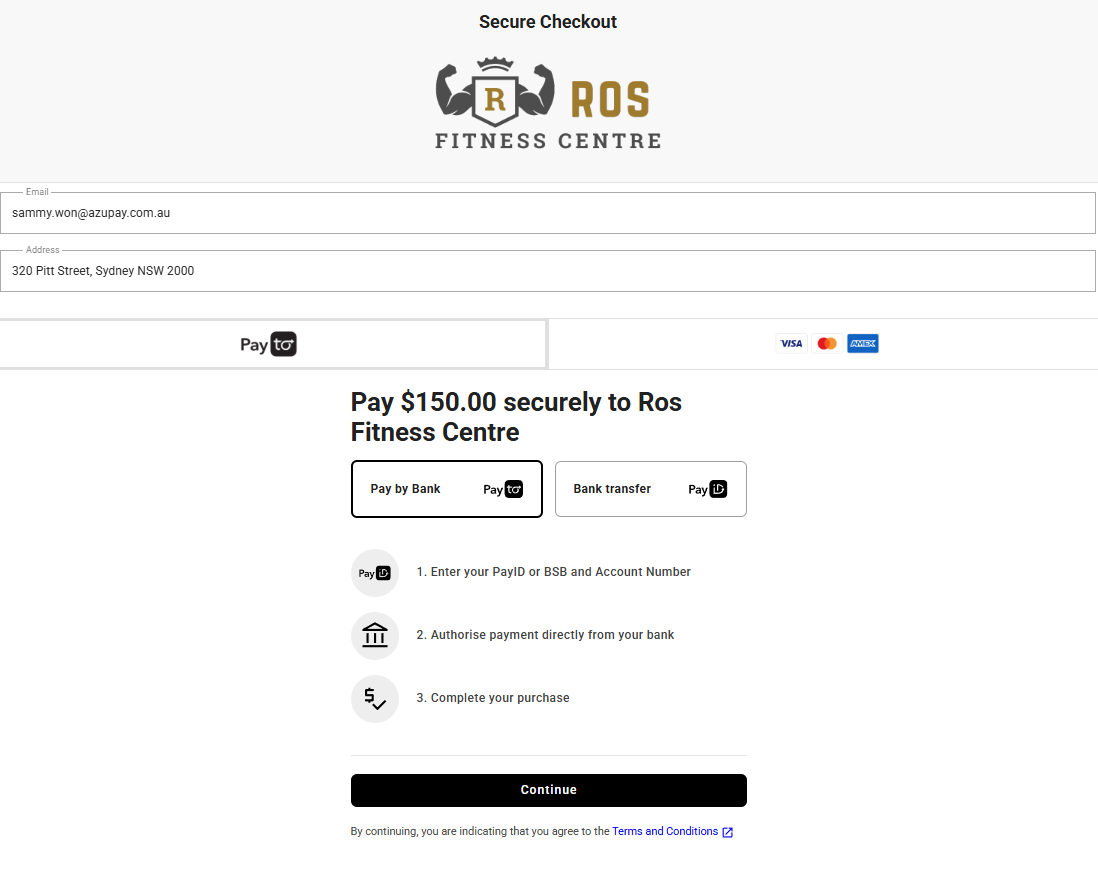
Pay by Bank UX solution (PayTo option selected)
Pay by Bank UX solution (PayID option selected)
PayTo Only:
Merchants can choose to accept payments exclusively through PayTo, leveraging its real-time processing and enhanced control features and easy low touch repeat payments.
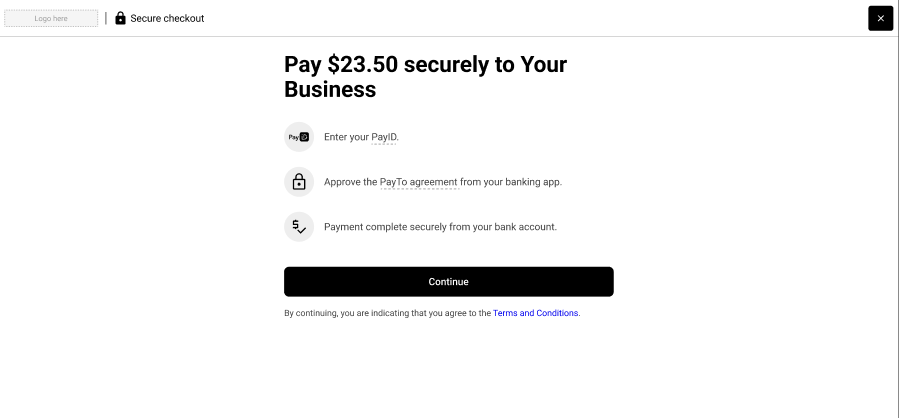
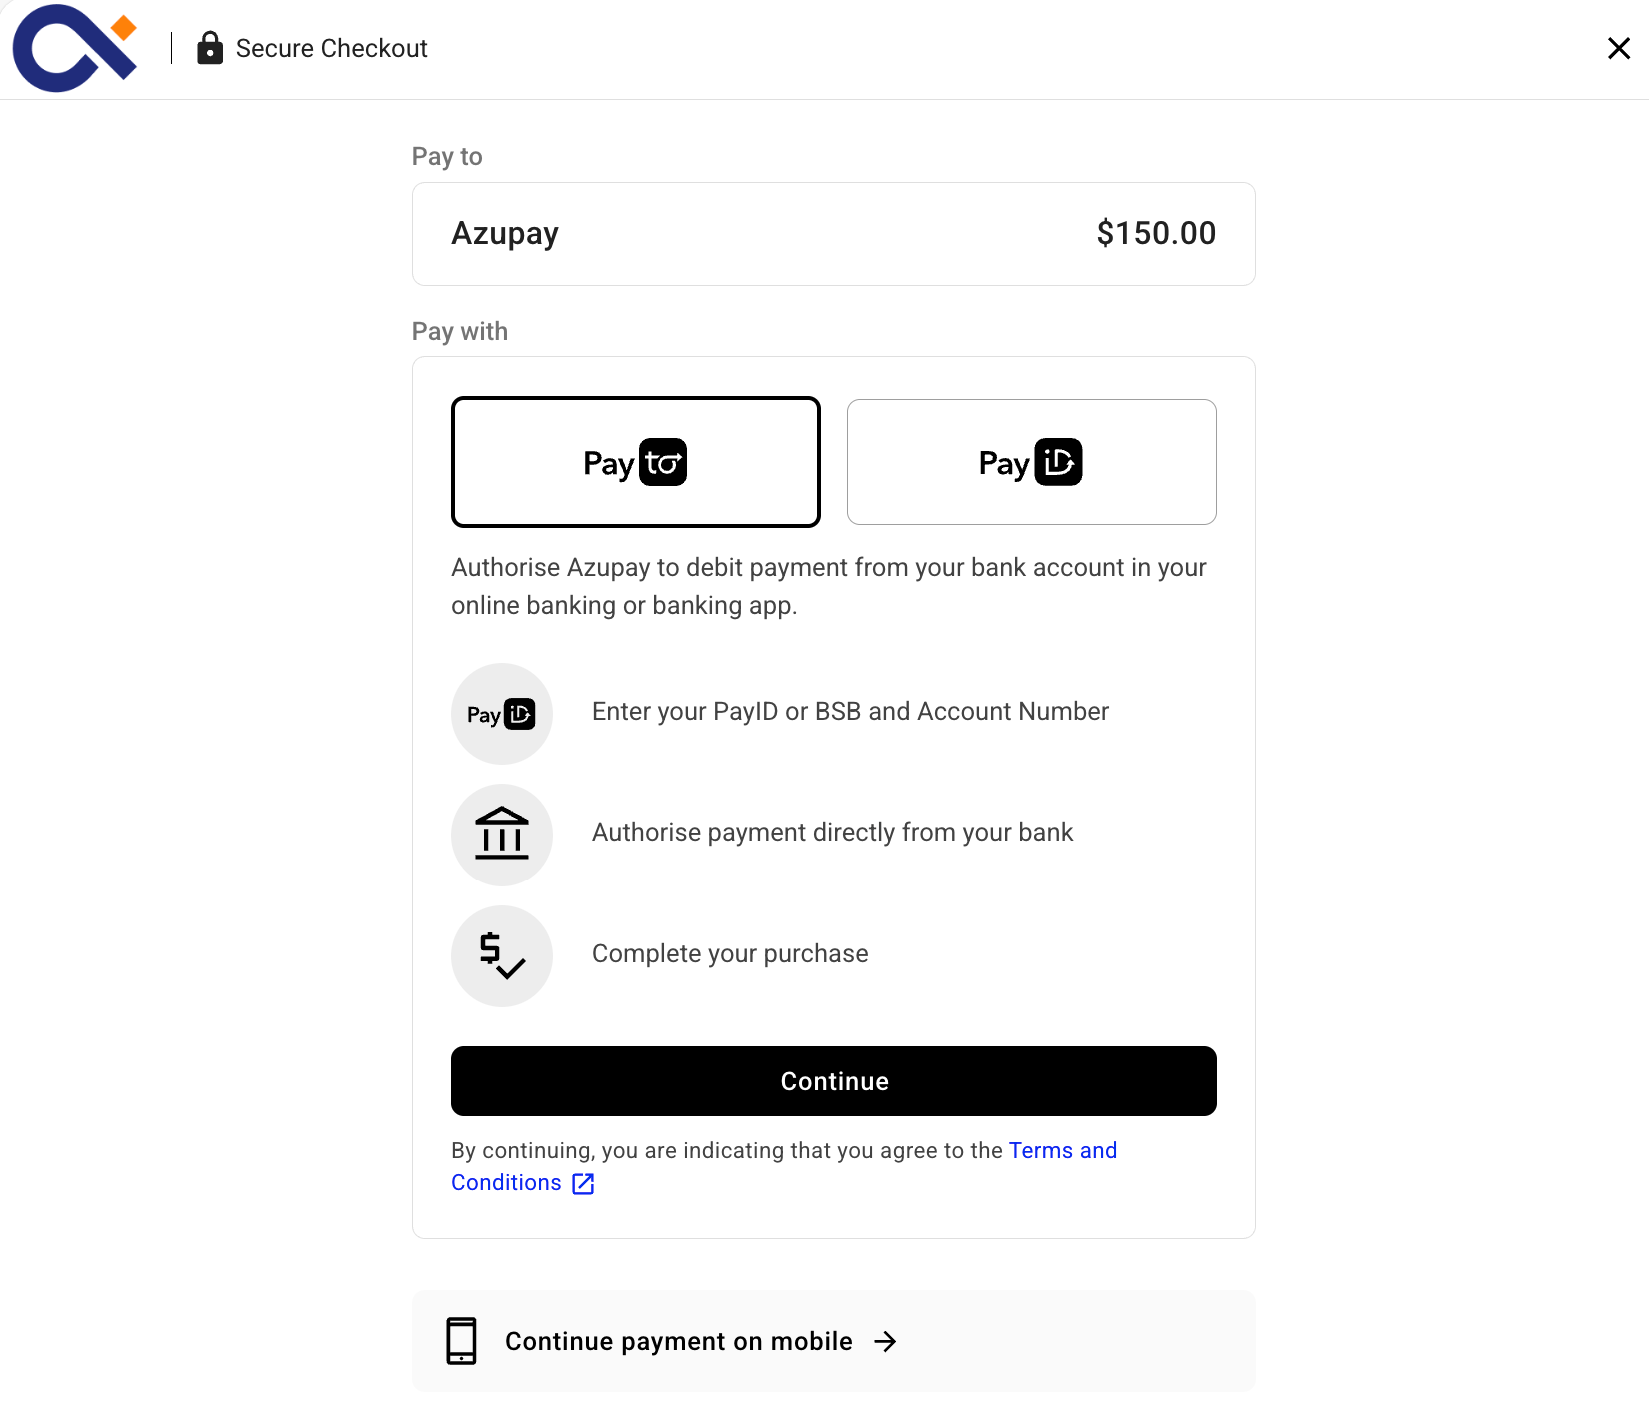
Pay by Bank UX Solution (PayTo only)
PayID Only:
Merchants can opt to accept payments solely via PayID, benefiting from its convenience, familiarity and speed.
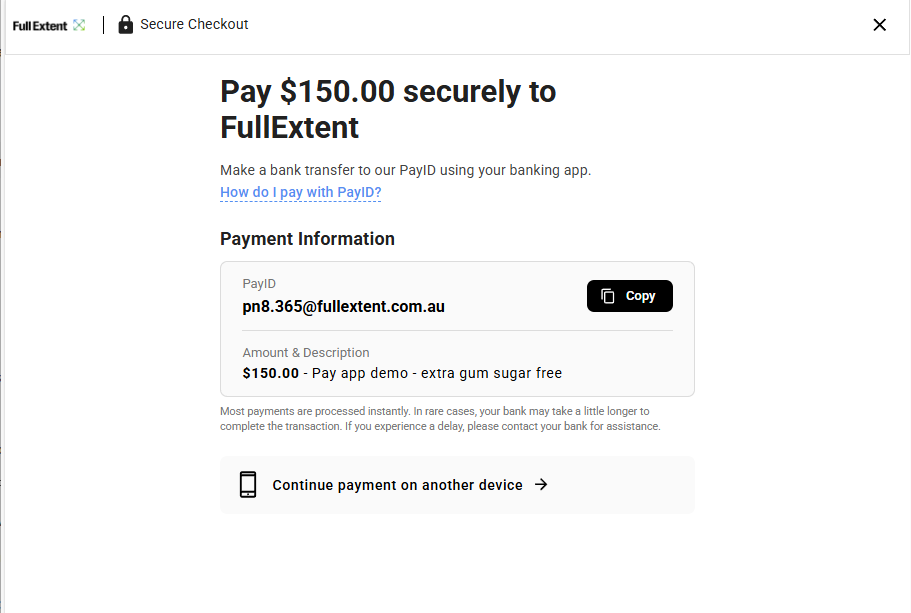
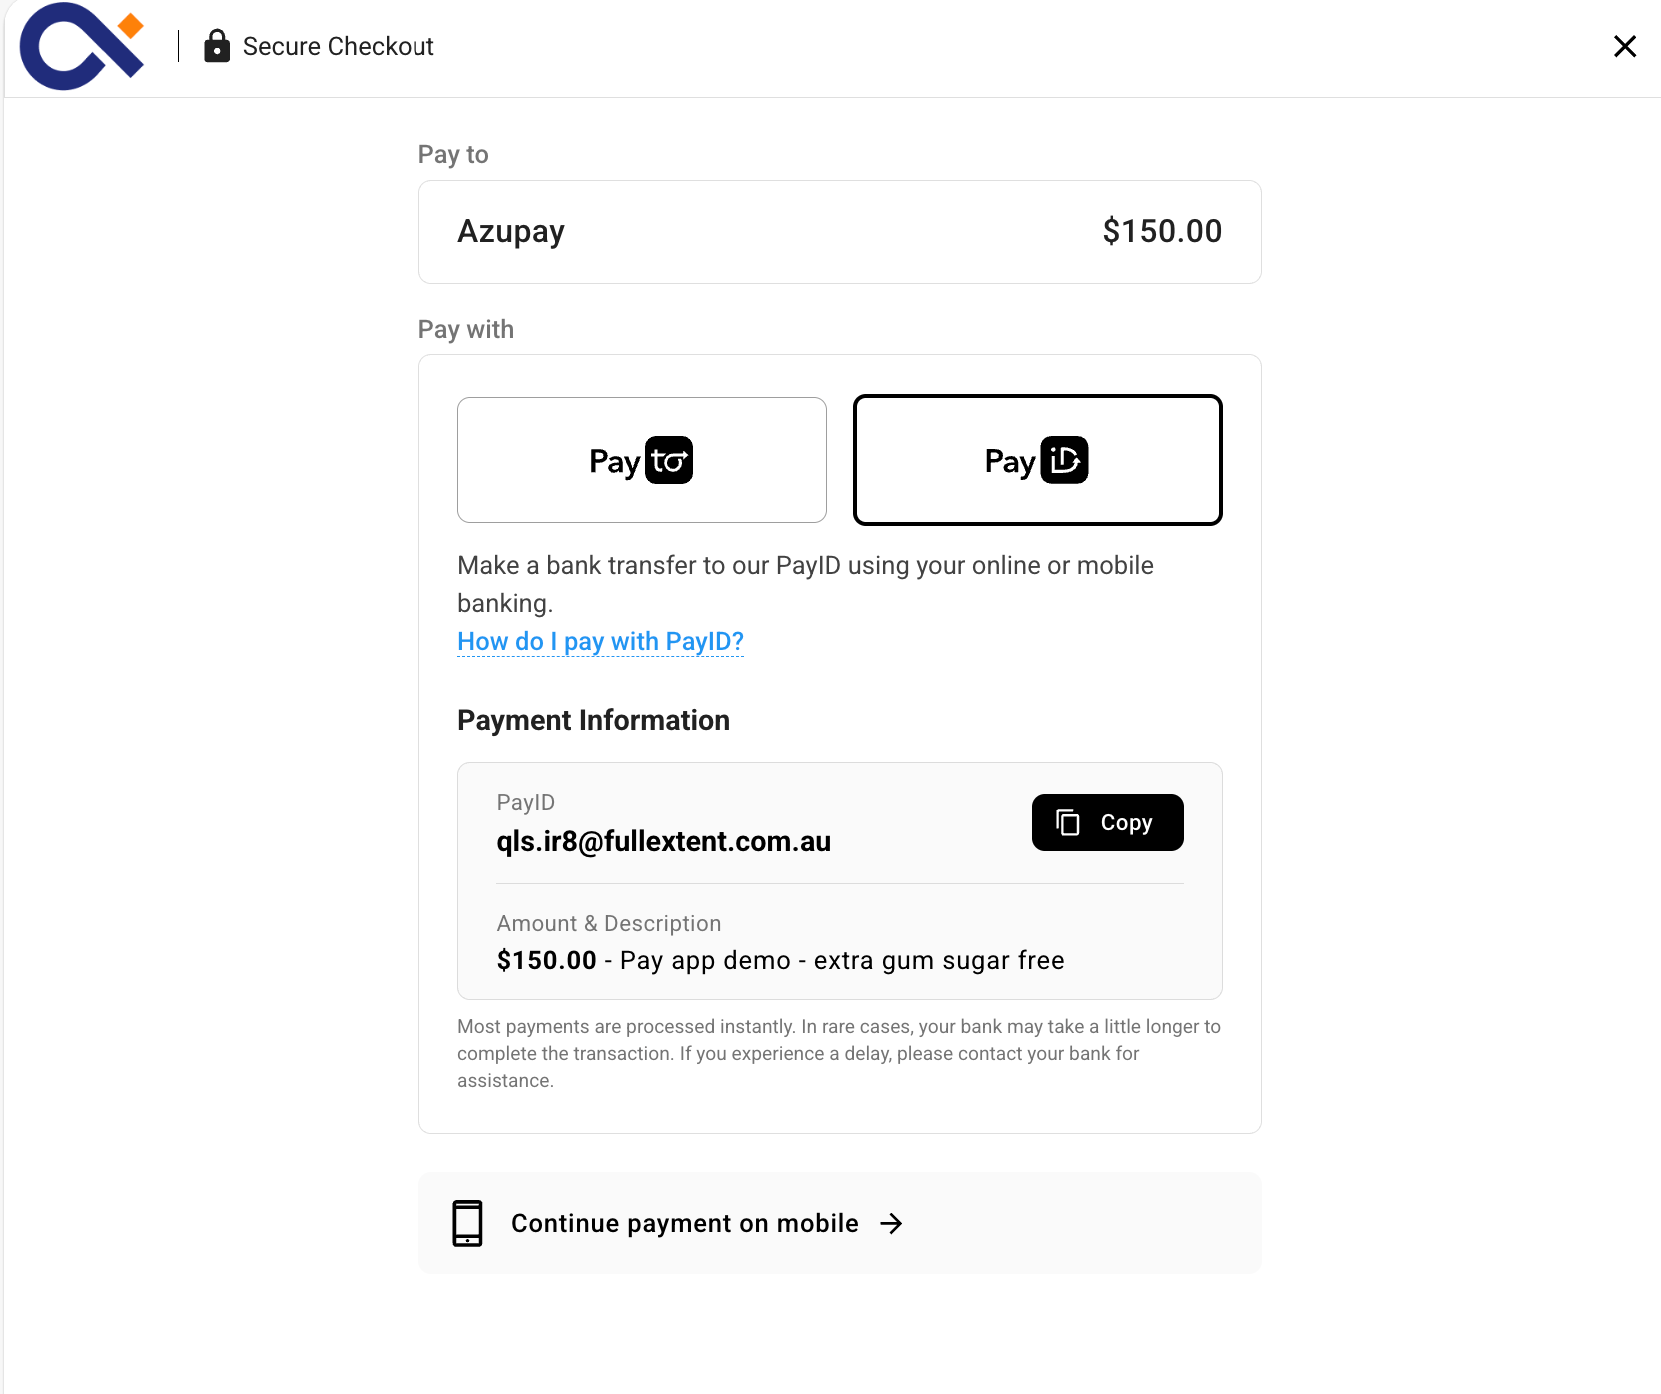
Pay by Bank UX Solution (PayID only)
Updated 2 months ago